Guys from Canon have not really figured out all steps that comes out when installing Canon Pixma Pro 100 for several computers in Wi-Fi environment. When installing driver for first time and device (printer) is not configured yet and is empty, it is normal than we need somehow to configure Wi-Fi settings in the printer. For this we use CD with software (or download from Canon site) and a USB cable. Installation is straightforward. You set-up first computer, than you can remove USB wire because it is not needed any more. And you can then print through Wi-Fi. Difficulties come in situation when there is NAT between computers and Wi-Fi and you want to add several more computers.
Problem is that although you have entered all Wi-Fi settings, set up programm on the next additional computer cannot find printer in your network. And that is reasonable because printer is in different LAN segment. And there in not an option to install driver by manually entering printer address. Only way that I found is to connect each additional computer via USB cable and run set-up from the beginning on each computer. There is no need to say how burdensome this process is, printer is heavy and same are desktop computers. Below is screenshots with steps how to do this installation on additional computers. Run installation from manufacturer CD or download latest version from Canon. Then follow the pictures. I omitted some installation start screen because they are of no big importance.
 |
| Choose option: use printer with wireless LAN connection |
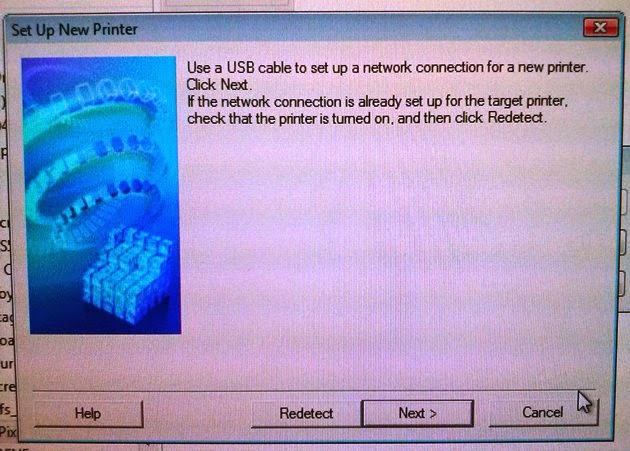 |
| Here press button Next. Redetect is not applicable with separate LAN segments |
 |
| Here is no need to go into Wi-Fi settings configuration if you have done it once. Just press Connect. |
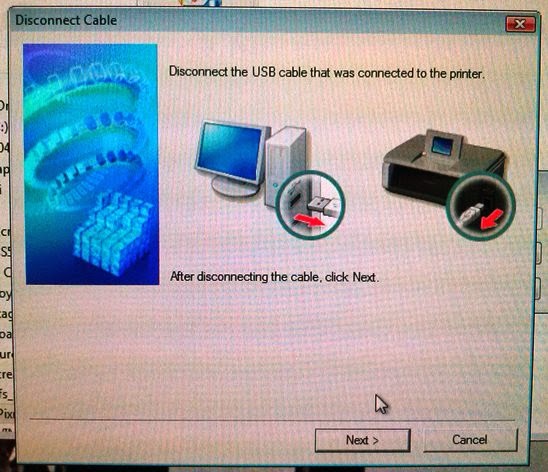 |
| Here you go. Disconnect USB and press Next. Everything must be on place now. |
No comments:
Post a Comment